Welcome to the Craft Corner
Beginner: Living Room Crafts
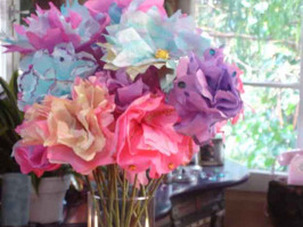
Coffee Filter Flowers
Tools
Coffee filters (3-5 filters per flower)
Food coloring
Wooden skewer/stick
Tape (preferably floral tape)
Embellishments (ultrafine glitter, sequins)
Scissors
Water
Bowls for food colouring
Old newspapers
Paper towels
Rubber gloves
Food coloring
Wooden skewer/stick
Tape (preferably floral tape)
Embellishments (ultrafine glitter, sequins)
Scissors
Water
Bowls for food colouring
Old newspapers
Paper towels
Rubber gloves
Instructions
1. Fill the bowls with water and add food colouring, each colour in a seperate bowl. When using food colouring, when wet the colour is much darker than how it will appear when dry
2. Wearing rubber gloves, dip coffee filters in the coloured dye, one at a time. Remove them quickly for a lighter shade, or leave them in longer for a darker color. Squeeze out the excess dye in the filters
3. Place wet filters on a paper towel with newspapers or waxed paper underneath and allow to dry
4. When the filters are dry, make petals by folding each filter in half to make a half-circle. Fold again to make a quarter of a circle shape. Fold the filter twice more in half
5. Using scissors, cut a curve or spike shape 1/2' from the edge of the wide end. You can cut many shapes in the wide end to create different looks; just experiment. Repeat this step for as many flowers (3-5 petals per flower) as needed.
6. Open the cut filters and lay flat. Embellish with ultrafine glitter and/or sequins glued to the filters. Once the embellishments are dry, layer the petals on top of one another. The top layer will be the inside petals of the flowers and the bottom layer will be the outer petals of the flowers.
7. Poke the skewer through the first petal, gather the petal to the end of the skewer, twist the base of the petal around the skewer and secure with floral tape. Keep adding layers until the flower is full.
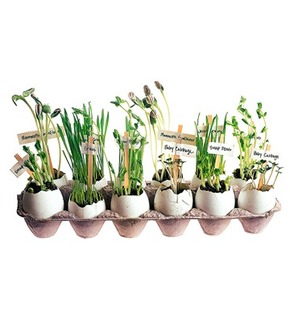
Eggshell Garden
Tools
12 Eggshells and cardboard egg carton
Flower/plant seeds and soil
Water
Window with sun shining through
Flower/plant seeds and soil
Water
Window with sun shining through
Instructions
1. Save the bottom half of 12 eggshells and place in egg carton
2. Plant seeds in the bottom of the eggshells with a bit of soil on top. Follow the package instructions.
3. Place on windowsill and water according to directions
4. After a few days, your garden will start to grow as long as you care for it accordingly
2. Plant seeds in the bottom of the eggshells with a bit of soil on top. Follow the package instructions.
3. Place on windowsill and water according to directions
4. After a few days, your garden will start to grow as long as you care for it accordingly
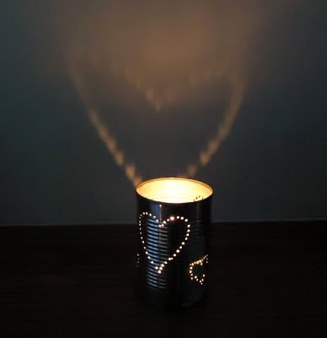
Tin Lantern
Tools
Empty soup can
Pencil or black marker
Water
Hammer
Nail
Tea light
Pencil or black marker
Water
Hammer
Nail
Tea light
Instructions
1. Peel the label off of the empty soup can and fill it with water and put it in the freezer to freeze.
2. Once the water in the can is frozen, using a pencil or black marker, make a design on the can, like hearts shown in the picture.
3. With a hammer and a nail, pierce holes in the tin on the lines you made your design with.
4. Through the process of step 3, you may have to take breaks and refreeze the water in the can.
5. Once finished, let the water thaw out and rinse and dry the can. Put a tea light in the can and use your finished craft on a coffee table in your living room!
